A paper map for a straightforward walk
Three clear landmarks are more useful than a page covered in markings.
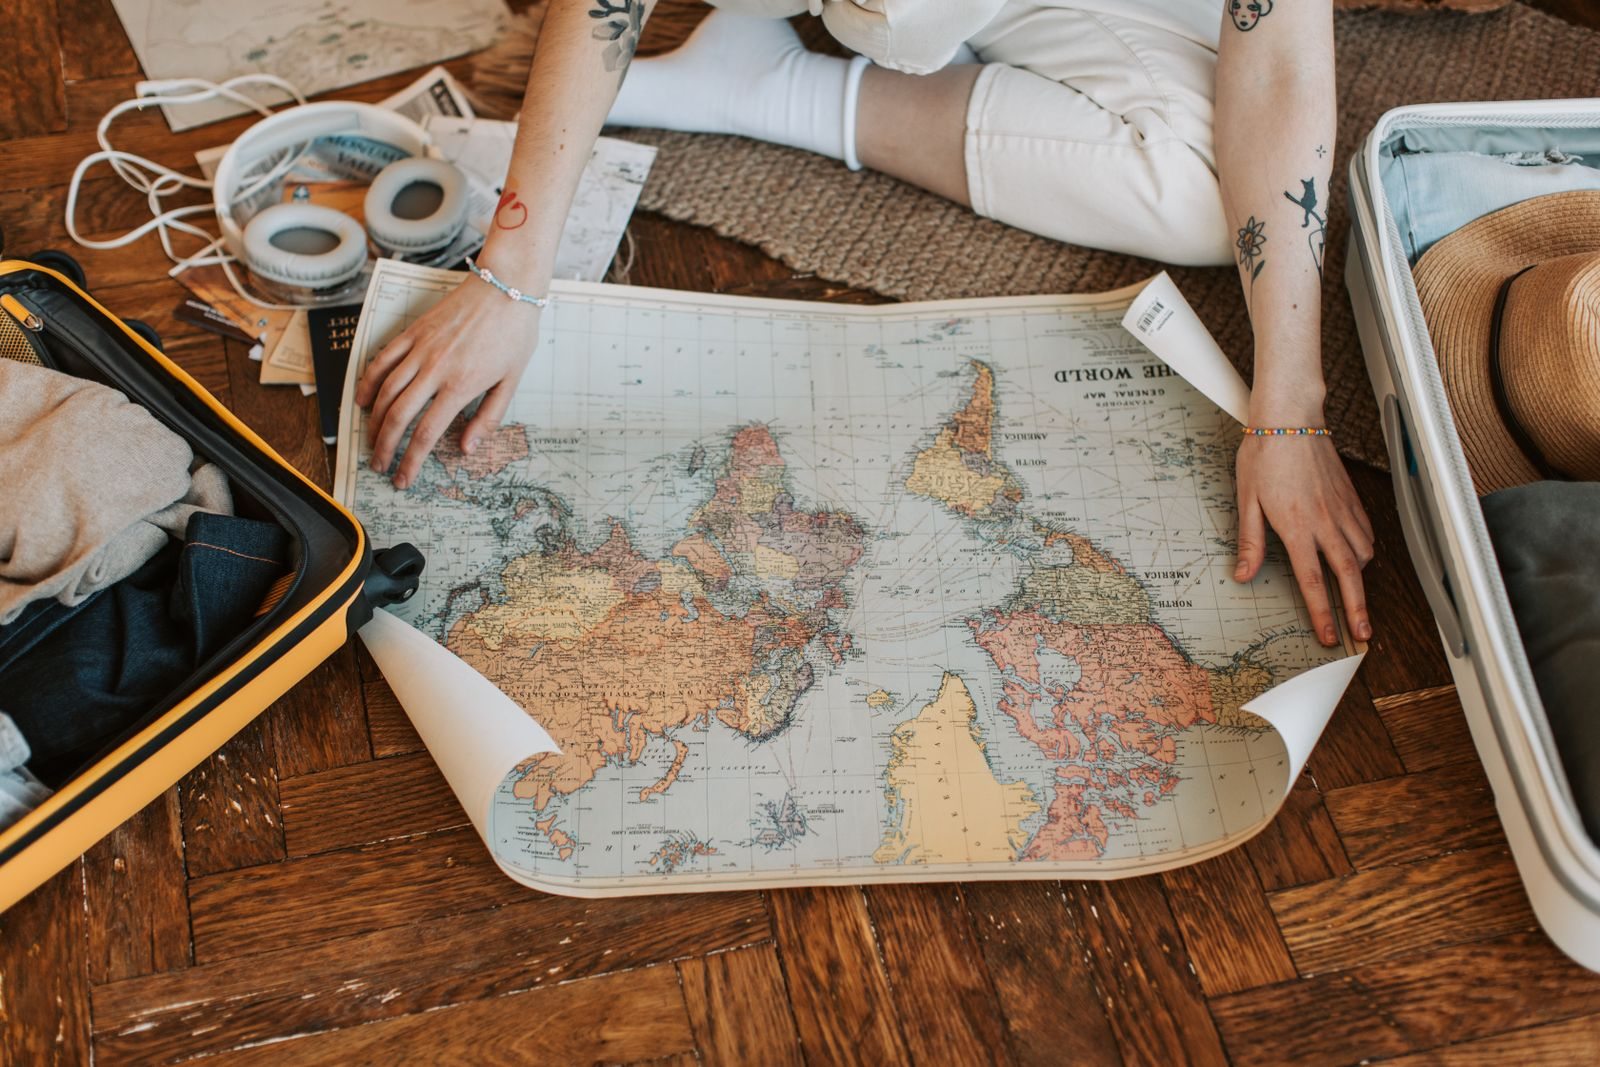
Read the key first
A map becomes useful when you understand its markings. Find the scale, orientation, route symbols and information about the terrain. Do not mistake a road for a path or a scenic line for a walkable route. For a hiking route, obtain suitable mapping rather than relying on a simplified tourist plan.
Identify the starting point and where you want to return. Then choose two or three recognisable landmarks: a bridge, a square or a station. A few clear stages are easier to remember than a long sequence of turns noted in a hurry.
Keep the route readable
Mark the route with a thin line so names and junctions remain visible. Add a shorter alternative in case the weather changes or you prefer to return early. Measuring distance alone is not enough: consider slopes, surfaces and sections where crossing a road requires particular attention.
A break does not need to fall exactly halfway around. Choose somewhere you can stop without obstructing others. If you plan to use a café or refreshment stop, check that it will be open. Keep an option to shorten the walk without depending on a particular service.
Compare the map with the place
If the map and what you see do not agree, stop somewhere safe and check again. An entrance may have changed or be temporarily closed. Local signs and restrictions take priority over your pencil line. The map is an orientation aid, not a reason to use a prohibited passage.
Protect the paper from water and fold it to show the section you are using. A photograph can provide a useful backup, but it does not replace readable mapping when detailed information becomes necessary.
Prepare a few clear landmarks and a shorter return option before setting off.